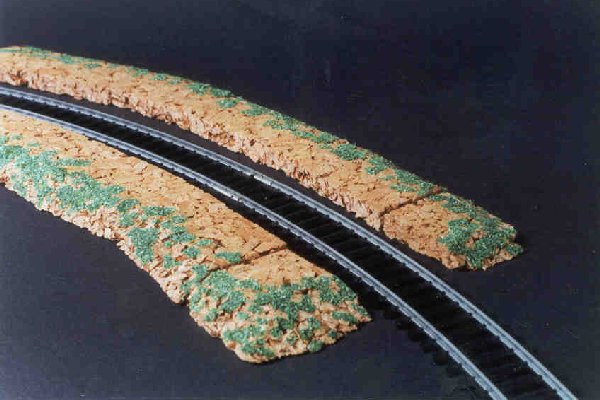
Here we see a curving section of cutting, shaped to match the curve of my sections of Hornby railway track. The outer slopes were cut quite simply with a big kitchen knife. The sort of thing Norman Bates killed the guests with in Psycho, not that I run a motel, mind you.
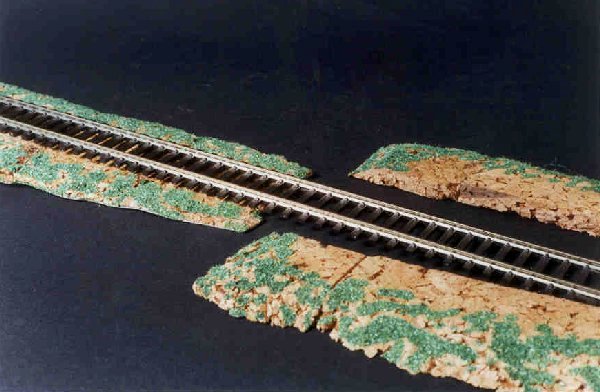
The edges were flocked with a very patchy pattern of flock. I quite like the look this gives - as though the cutting is quite a new construction, and grass is yet to colonise the slopes fully. The tops of the slopes have been left pretty bare of flock. This is because these same pieces of cork are railway embankments. I just close the gap between them to nothing, and place the track on top. To aid in this, I have painted the heads of a few mapping pins in mottled grey, to look like inconspicuous stones, and I pin the track down to the cork tile beneath, if necessary (which usually it isn't). I took a photograph of embankment to illustrate this, complete with the disguised pins, but it didn't come out. I'm sure you can imagine what I mean.
At the ends of the cutting, you can see end pieces for finishing off the raised area, which slope down in two directions. You won't need many of these. The picture shows them placed with a slight gap between them and the main piece of cutting. This is so that you can see the separate pieces. Placed flush, the join doesn't show much.
If you have some railway on an embankment in your scenario, then you will probably want to bring this down to the table top at some point. For this, you will need to build a ramp. This is the only tricky part of this cutting/embankment business, as the ramp has to be very shallow, and a kitchen knife won't give you the angle. I based my ramp on some thin card from a breakfast cereal packet, and glued several pieces of cork to this, carved down to various heights, and then smoothed over the transitions with a mixture of flock, sawdust and PVA. I had to place weights on it carefully, to get it to dry flat.
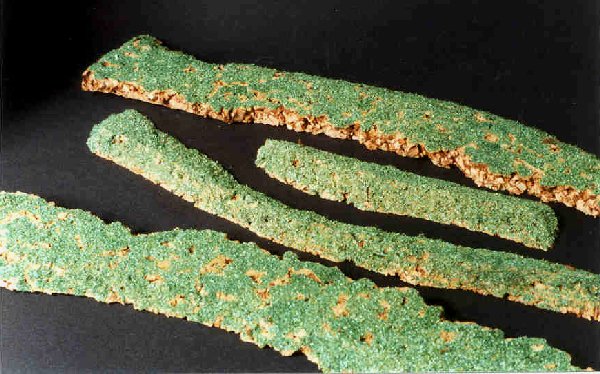
Cork and a psycho knife can also be used to create crest lines and ridges/crags. The crest lines slope down in all directions, and two examples can be seen in the middle of this photograph. The ridges/crags have one long rough broken edge, which is approximately vertical, one long sloping edge, and sloped ends. I've used lots of flock on these, covering almost all the cork. Part of the joy of cork, though, is that if the cork ever peeps through, it still looks fine.
BACK TO SCENERY MENU BACK TO MODELLING MENU
Click here to go back to the home page