The table set for Game #13 (Canada). Will the Germans get the parts to a new super weapon away by train in time? Will the French resistance foil their plans by destroying the engine?
|
Result Despite a couple of notable Germans victories, most of the scenarios running up to the finale were won by the allies (12 allied victories, 6 Germans victories). Some victories were very high-scoring and decisive, while many were somewhat Pyrrhic (three allied ‘victories’ achieved their objectives, but after time penalties and casualties were taken into account, they had a negative points score). After the first sixteen games the scores stood at: Allies 831, Germans 314. The concluding game had on-table forty-six German units all waiting to cross a bridge to safety, while allied bombers pounded them from the sky, and allied ground forces tried to round up prisoners, hampered by a few die-hard Germans. The speed of the advance was such that the allied ground forces had arrived in good time, with support, and even a flanking manoeuvre. Such was the allied overall score, that the number that needed to be rolled for a German unit to surrender if surrounded was not high. However, the Germans still had a working radar station (the French Resistance from Game 6 had not blown it up) and good AA cover (most of the AA guns from previous games had escaped), and so a high die roll was required to bring in effective bombing missions. The German ground forces fought very well, and managed to stop any German units from being surrounded and surrendering. However, they had problems with the bottle-neck on the bridge, and quite a few units perished during the retreat. The finale itself was a German victory, but the score was not quite high enough to turn the campaign around. It seems that this allied operation would indeed shorten the war slightly. Final score including climactic game: Allies 831, Germans 684 |
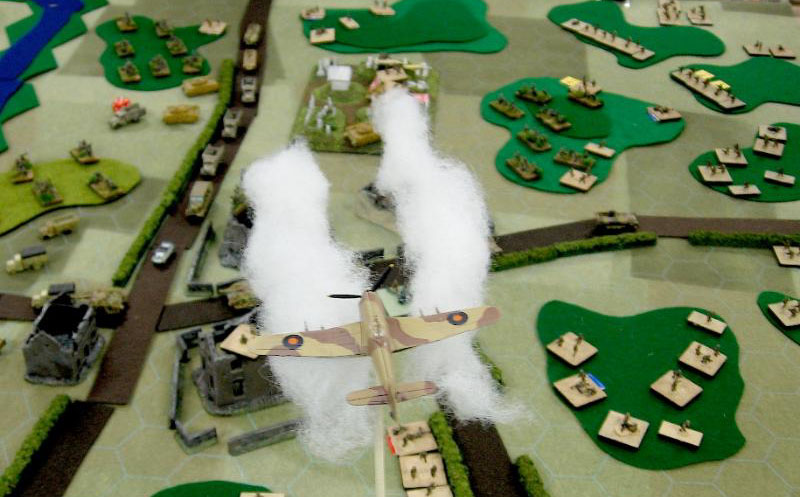 The RAF pounds the Germans caught in the pocket. How many will get away in the climactic Game #16 (Canada)? Results of a different sort were that an eight-page article about the event, lavishly illustrated with photographs taken by those who took part, appeared in Miniature Wargames magazine, giving the game a publicity boost; and Arty Conliffe announced that he would be working on an updated version of the rule-book, which even now people throughout the wine bars, youth clubs, and saunas of the world are referring to as ‘Crossfire II’. For my work on World Crossfire Day, I was chosen to be a play-tester for this, which is rather nice. Back to menu |
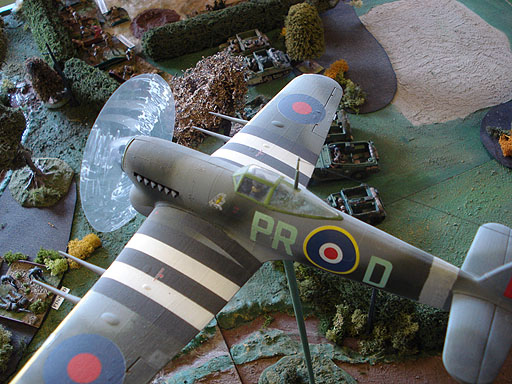 | 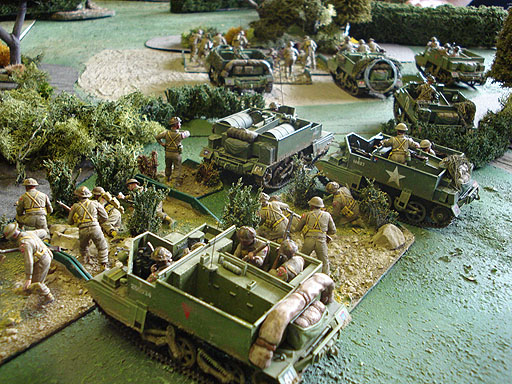 |
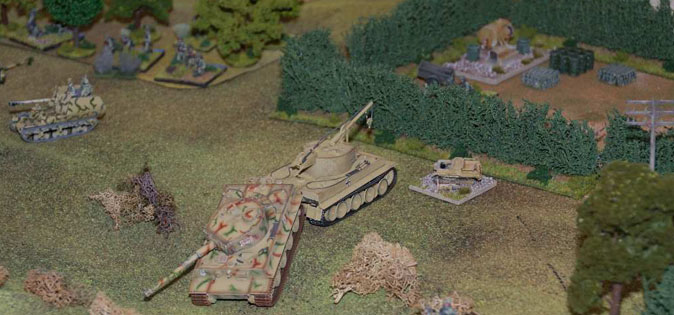
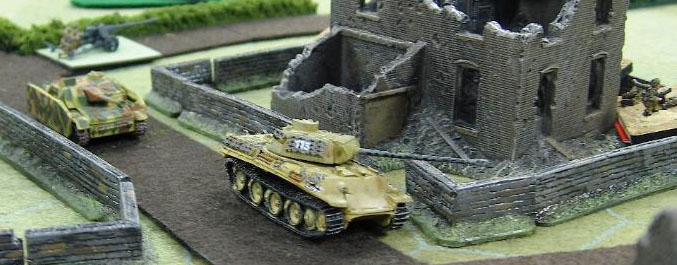
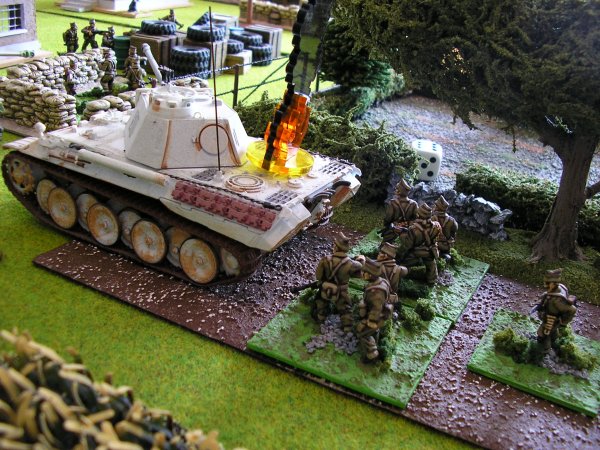
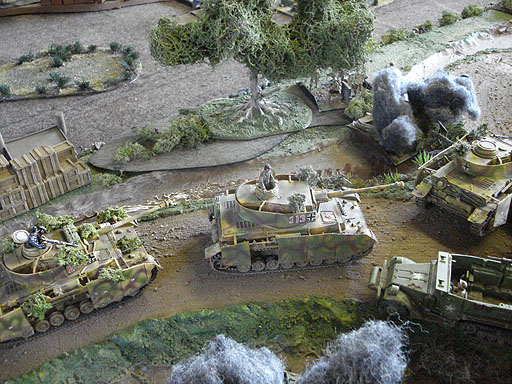
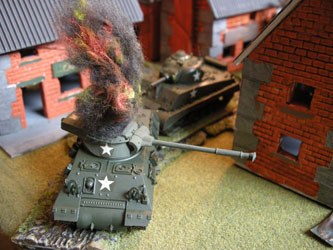
| Images from Game #7A. These were jaw-droppingly impressive 1/35th scale models, and so deserve a fair few shots. You'll see that John Lander puts four infantry figures on each base, because three wasn't enough work for him. In this scenario, both sides were trying to preserve the bridge. The German column of armour arrived during the game, and tried to cross to safety, but suffered surprisingly high losses to air attacks and the bravery of one Cromwell, which placed itself astride the road and blasted away. Significant harm was done to German communications by the cutting of telegraph wires, and the taking of the telegraph office in the village across the river. This meant, for example, that the defending Germans in Game #10B had no idea that the allies were almost upon them, and so were caught not deployed for battle. At the bottom there you see Tommies racing across the bridge, taking a useful amount of shrubbery and brickwork with them. | 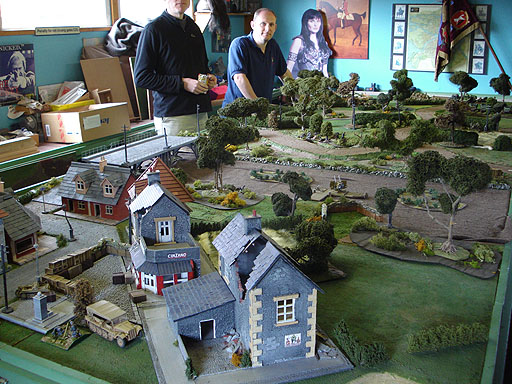 |
 |  |
Links
The Scenario Designs of World Crossfire Day - a general article about the principles behind the designs, with some links to examples of specific scenerios.
First, a good guide to the event: John Moher's WCFD pages. See also his pages for the game results: John Moher's WCFD results pages. He also has an account of Game #1 with pictures.
The Hong Kong Society of Wargamers site now has an account of Game #4 told in dramatic style.
You'll find an account of WCFD in the news section of Matakishi's Tea House and on the same rather pretty site you'll find an report on Game #6 (commando raid on aerodrome) with pictures.
A blow-by-blow and impressively analytical account of Game #8, with pictures on Steven Thomas's Crossfire pages.
Here you'll find a write-up of Game #10A with pictures. If you liked that, then why not also look at an illustrated report of Game #10B?
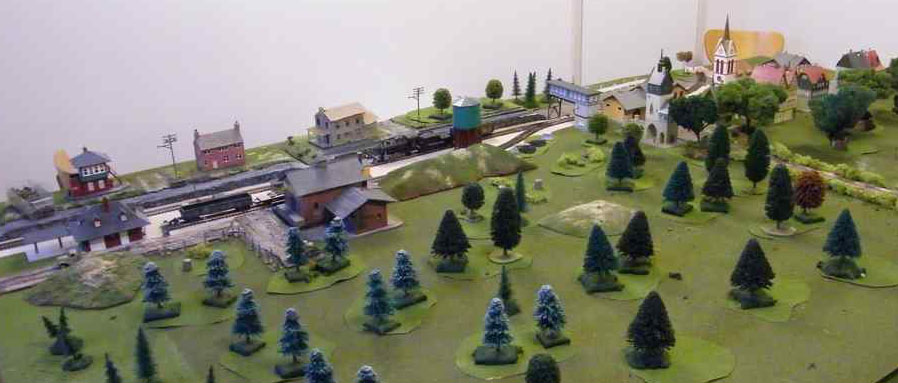
Tim Marshall has now added a nice account of Game #13 with his rather pretty scenery.
Here is a report on Game #11 with pictures. You may want to stop or slow down the speed of the Flickr slide show, unless perhaps you are spectacularly fast at reading. By the same people is a report also on Flickr of Game #15.
There is also a report of Games #16 and #17, with pictures.
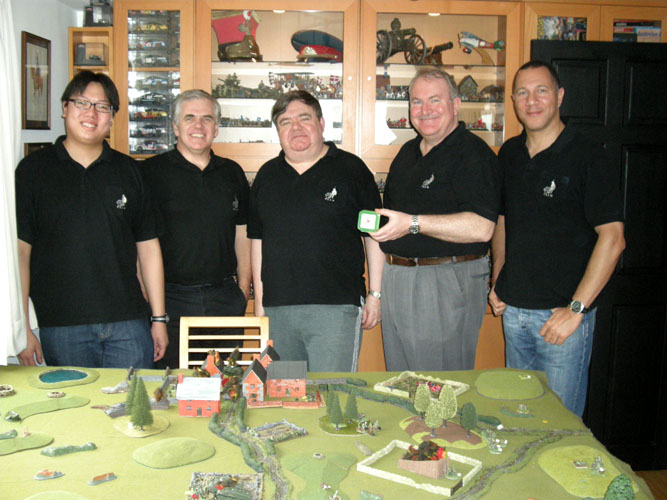 | |
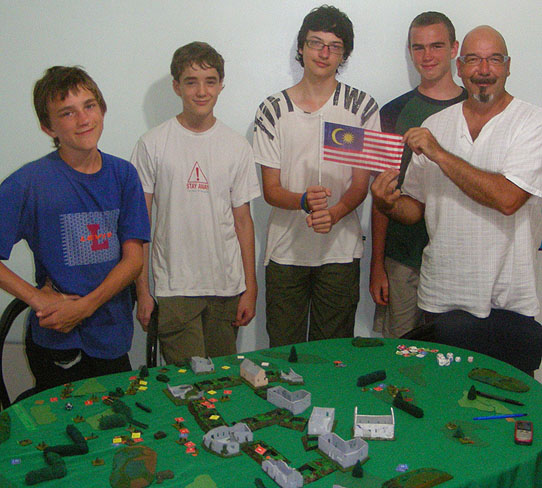
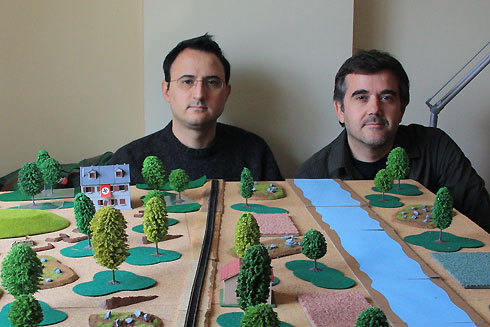 | Gamers from Hong Kong (top, game #4) and Spain (left, game #12), and Penang (below, games #3 and #5). |
 | |